

Did you know that you can improve your home safety and security by converting your manual roller door into an automatic one?
Chamberlain’s range of automatic garage door openers provide extra safety features for your home and family. Features include our Obstruction Detection Beams, which ensures your garage door will not make contact with an obstruction, and added convenience with myQ Connectivity (making your garage door opener a ‘smart’ one) allowing you to monitor and control your garage door from anywhere, anytime, via your smartphone or Apple Watch.
Better yet, with a Chamberlain Automatic Garage Door Opener – available at Bunnings Warehouse – you can easily install it yourself!
As the experts in all things home and DIY, Bunnings has provided a 10-step guide on how you can install a Chamberlain Automatic Garage Door Opener, with accompanying Obstruction Detection Beams and myQ Connectivity.
For a step-by-step guide with images, follow the link here.
What you need to succeed:
What you need to succeed:
There are a couple of things you need to check before beginning this garage door opener DIY project. First, you need at least 95mm clearance from the side of the roller door to the wall. The second thing you need is a handy power point.
It is also important to read Chamberlain’s safety recommendations and follow the steps in your product manual.
Tools
Materials
● 100m Timber cut off
● Chamberlain garage door opener
● Chamberlain myQ Connectivity Kit
Step 1: Disable the locks on your roller door
Start by disabling your garage door locks and manually check that the door opens smoothly.
To begin installation, on the opposite side to where the opener will go, clip the supplied stop collar over the axle and against the drum, and then tighten with a small shifting spanner.
Step 2: Step 2: Pin your door and secure with a drill
To pin the door and prevent it from ballooning upwards when it moves, close it fully and then lift by half a turn to secure the supplied, self-tapping metal screws into the ends, using a drill with an 8mm nut driver. You’ll want the screws to go in about 50mm and through the drum behind.
Step 3: Secure the red rope (provided in the kit)
Knot the red rope through the cable loop at the side. Pull the cord until you hear a click and check the legs turn freely. If your opener is on the left of the door, follow the product instructions to change it from a factory-set right opening.
Step 4: Secure the tie-down strap
Open your garage door and secure a tie-down strap around the rolled drum. Position a ladder underneath with a folded drop sheet on top of the ladder.
Mark the position of the nuts before removing the U bolt from the wall bracket with a 13mm socket. Lift the axle to move the rolled drum onto the ladder and remove the bracket.
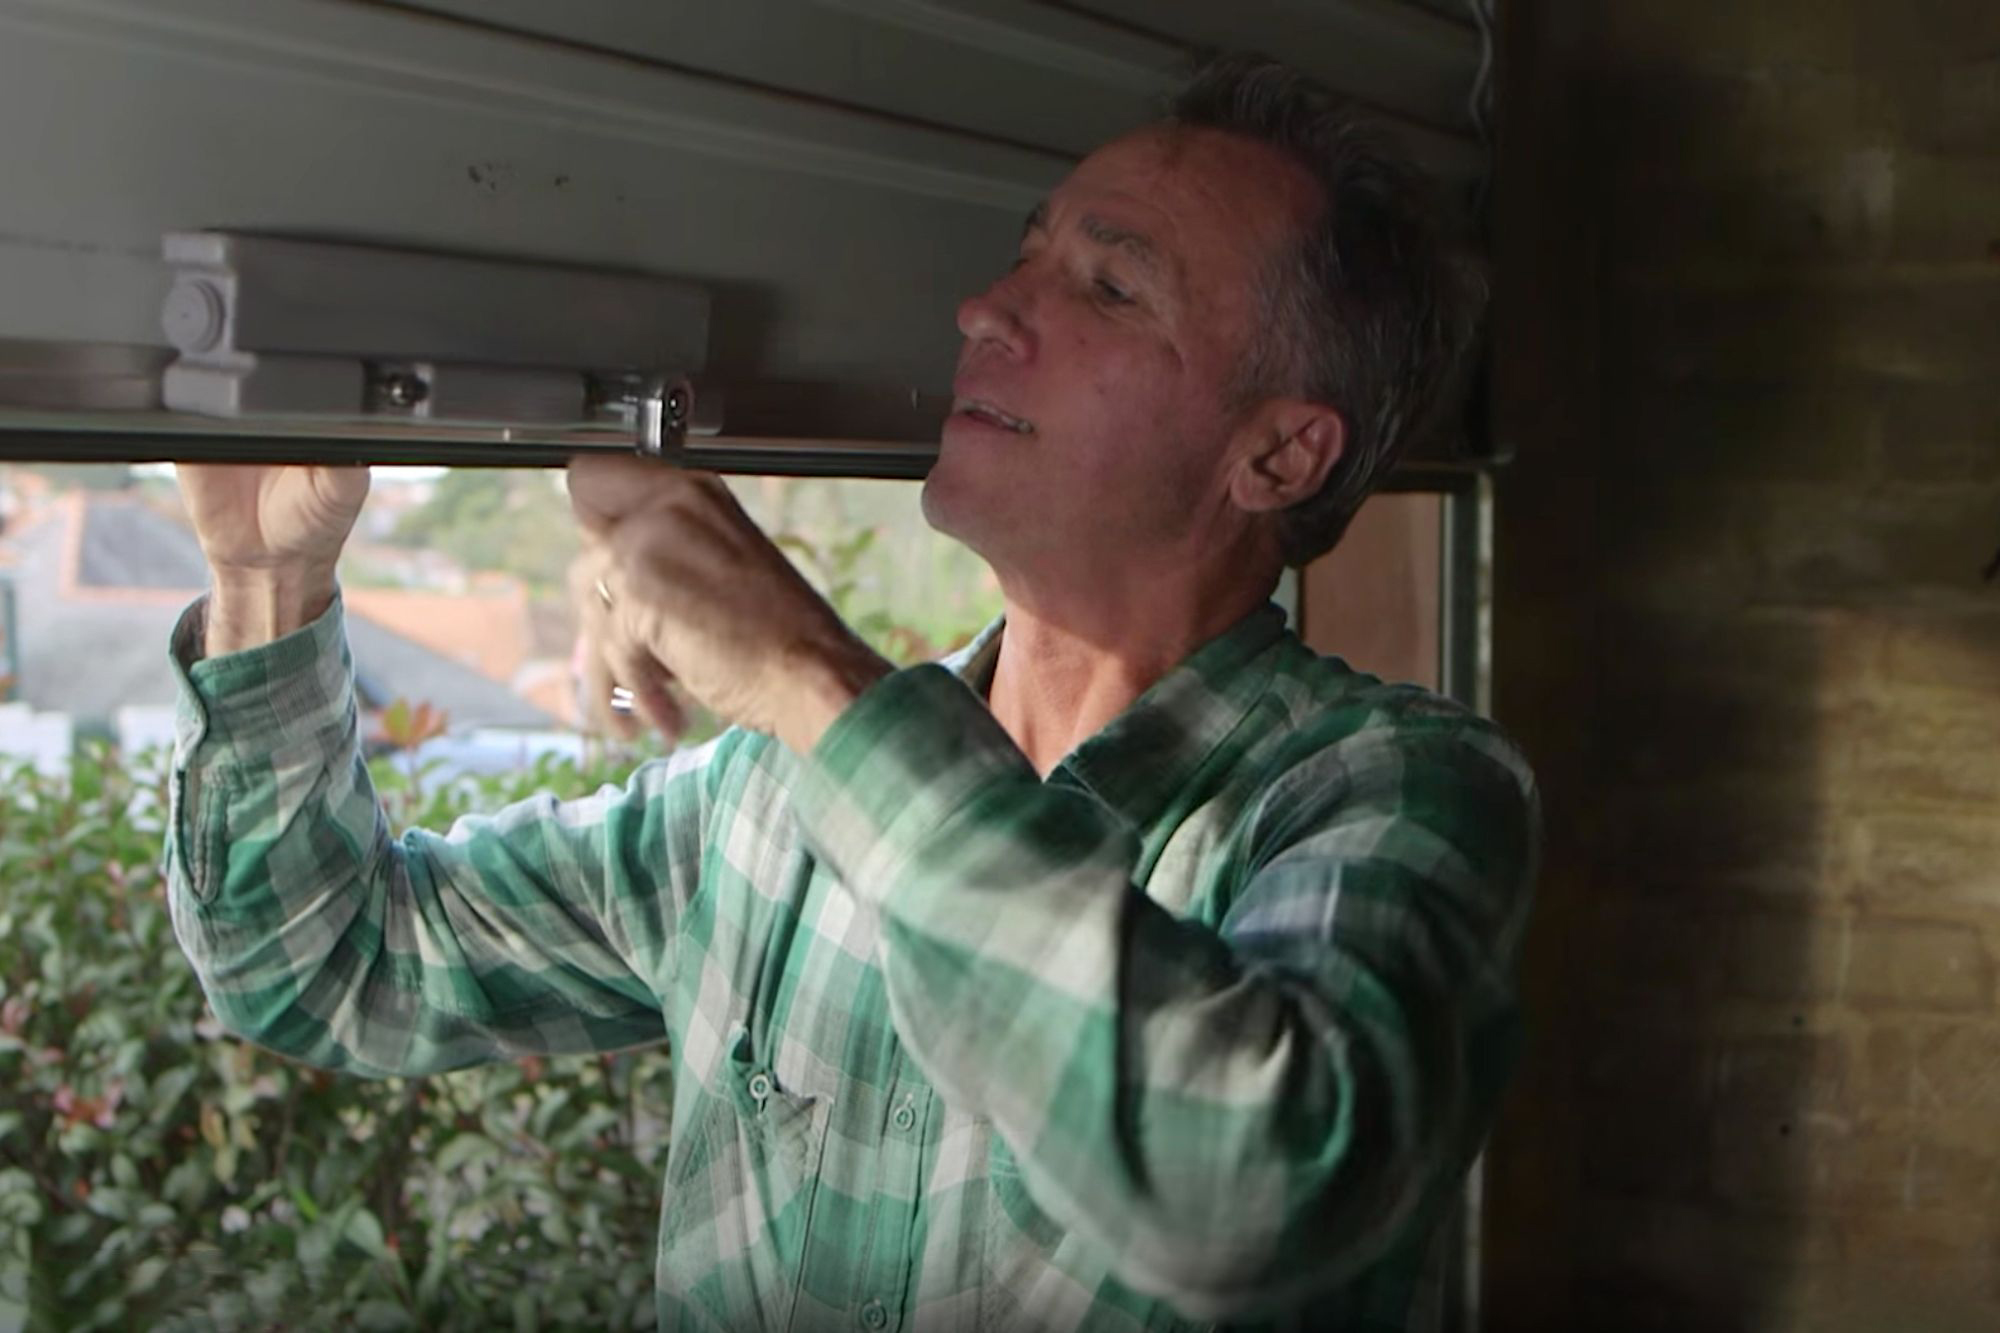
Step 5: Replace the wall bracket
Next, slide the garage door opener over the fork to straddle the spokes in the drum. Then, replace the wall bracket and lift the door back into position.
Place the supplied clamp over the axle and through the bracket to tighten the screws over the marks with a 13mm socket. Remove the strap and ladder.
Step 6: Secure the weight bar
Measure halfway along the base of the door and use the weight bar as a template to drill holes with a 5.5mm bit.
Using a screwdriver and spanner, secure it with the supplied bolts. Add the warning labels, plug in the opener and follow the instructions to set the door-opening limits, testing with a timber offcut.
Step 7: Install brackets on both sides of the door
Now it’s time for additional safety accessories. To install your Obstruction Detection Beams, position the supplied mounting brackets inside either side of the garage door. Make sure they’re the same distance up from the floor and no higher than 100mm.
Secure with the appropriate screws. Check that the eyes of the sensors face each other and that the invisible beam between them is unobstructed.
Note: Chamberlain’s Obstruction Detection Beams are an additional accessory that are designed to keep your family, pets and vehicles safe. They ensure that if any interference is detected when an automated garage door is closing, the opener will immediately stop and reverse before making contact.
Step 8: Plug in the router
Next, it’s time to make your automatic garage door opener a smart one, with Chamberlain’s myQ Connectivity Kit. Unplug your new door opener before running sensor cables to the control panel using the supplied self-adhesive cable mounts to hold them against the wall.
Remove the access panel of the opener to connect the wires. Plug in the router and opener, then download the myQ App to pair your door to your devices, allowing you to monitor and control your garage door from anywhere, anytime. Your door is now ready to roll!
Step 9: Keep in mind..
■ Garage doors attract insects so protect yourself by wearing gloves and closed footwear.
■ Choose the right ladder for the job: make sure it has non-slip feet and set it up on a flat, stable, solid surface. Maintain three points of contact on the ladder at all times (for example, both feet and one hand) and make sure another person is nearby. Never stand on the top rung.
■ Don’t allow people or pets to walk under the open garage door while working on it.
■ This product uses a coin/cell battery. Keep out of the reach of children.
Step 10: While you’re at it!
With a few years past of wild weather conditions, does your garage door weather seal need replacing? Check out Bunnings’ handy DIY guide. Some products are not available at all Bunnings stores, but may be ordered.
**
There you have it! Now you can easily upgrade your roller garage door opener into a safe and secure, automatic Chamberlain Garage Door Opener, with Obstruction Detection Beams and smart myQ Connectivity.
If installing the garage door opener yourself isn’t for you – just visit the Bunnings Service Desk and arrange for Bunnings to install your new garage door opener for you.
You can rest assured that your home, pets and belongings are as safe and secure as possible.
For more information about Chamberlain’s range of garage door openers and accessories, visit our website or call 1800 665 438.